

If you plan to tackle a lot of handyman projects this summer, getting your garage, tool shed, or workstation organized should be at the top of your to-do list. There are a lot of storage systems that you can use to store and organize your tools, and one of the most effective systems is a good old-fashioned pegboard. With a pegboard, you can hang up your tools, freeing up surface space on your work table while still keeping all of your favorite tools within reach. Not sure how to put a pegboard to good use? Follow this guide from Home Depot to get started.
Choose The Right Pegboard
Choosing the right pegboard size and material is an important consideration when setting up your organizational system. Pegboards come in various sizes, so it’s essential to measure the available space in your garage or workshop before purchasing one. Consider the number of tools you have and the amount of wall space you can dedicate to the pegboard. You want to choose a size that allows for easy access to your tools without overcrowding the board.
In terms of materials, pegboards are typically made of either hardboard or metal. Hardboard pegboards are affordable, lightweight, and easy to cut to custom sizes. They are suitable for most home workshops and provide a smooth surface for hanging tools. Metal pegboards, on the other hand, are more durable and offer a higher weight capacity. They are ideal for heavy-duty tools and environments where durability is essential.
Mount Your Pegboard
Once you have selected the right pegboard for your needs, it’s time to mount it on the wall. Follow these step-by-step instructions for a hassle-free installation:
- Choose the location: Find a suitable wall space that is easily accessible and provides enough room for your selected pegboard size.
- Prepare the wall: Ensure the wall is clean and free of any obstructions. If necessary, patch up any holes or cracks and give the wall a fresh coat of paint.
- Mark the mounting holes: Hold the pegboard against the wall and mark the location of the mounting holes with a pencil or marker. Use a level to ensure the board is straight.
- Drill pilot holes: Use an appropriate drill bit to create pilot holes at the marked locations. This step will make it easier to insert the screws and prevent the wall from splitting.
- Attach the pegboard: With the help of a friend or a wall anchor, align the pegboard with the pilot holes and insert the screws into the holes. Tighten them securely but be careful not to overtighten and damage the pegboard.
You might also like: Hyundai Tops The Charts
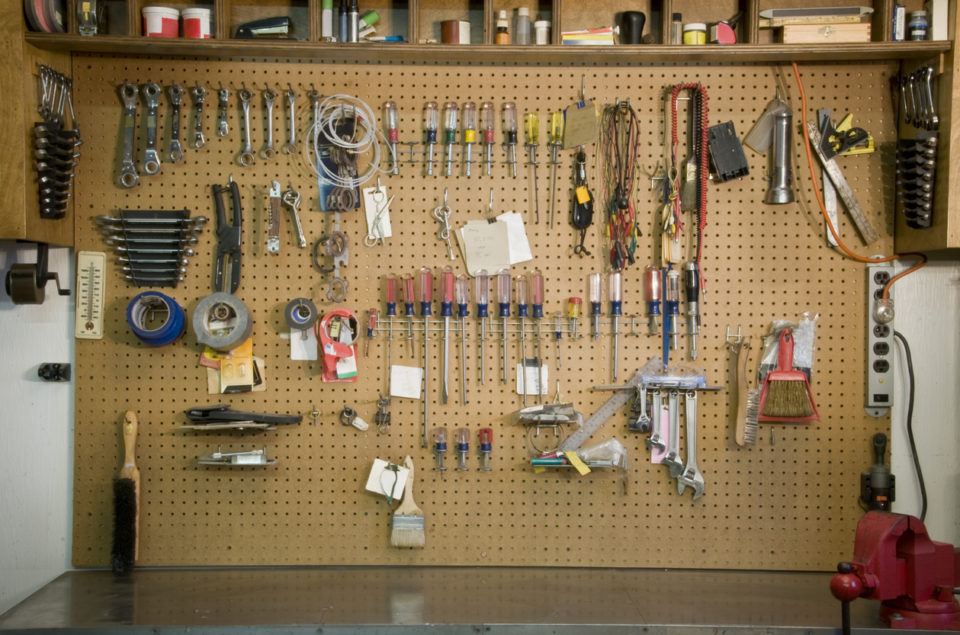
Organize Your Tools
With your pegboard securely mounted, it’s time to organize your tools. The pegboard offers endless possibilities for arranging your tools based on size or usage. Consider grouping similar tools together, such as hanging all your screwdrivers in one area and your hammers in another. This way, you can easily locate the tool you need when working on a specific project.
For added convenience, outline the shape of each tool on the pegboard using a marker. This visual guide will help you quickly identify where each tool belongs and make it easier to keep everything organized.
Organizing your tools on a pegboard not only enhances efficiency but also improves safety. By keeping your tools off the work surface, you reduce the risk of accidents and injuries caused by clutter or misplaced tools.